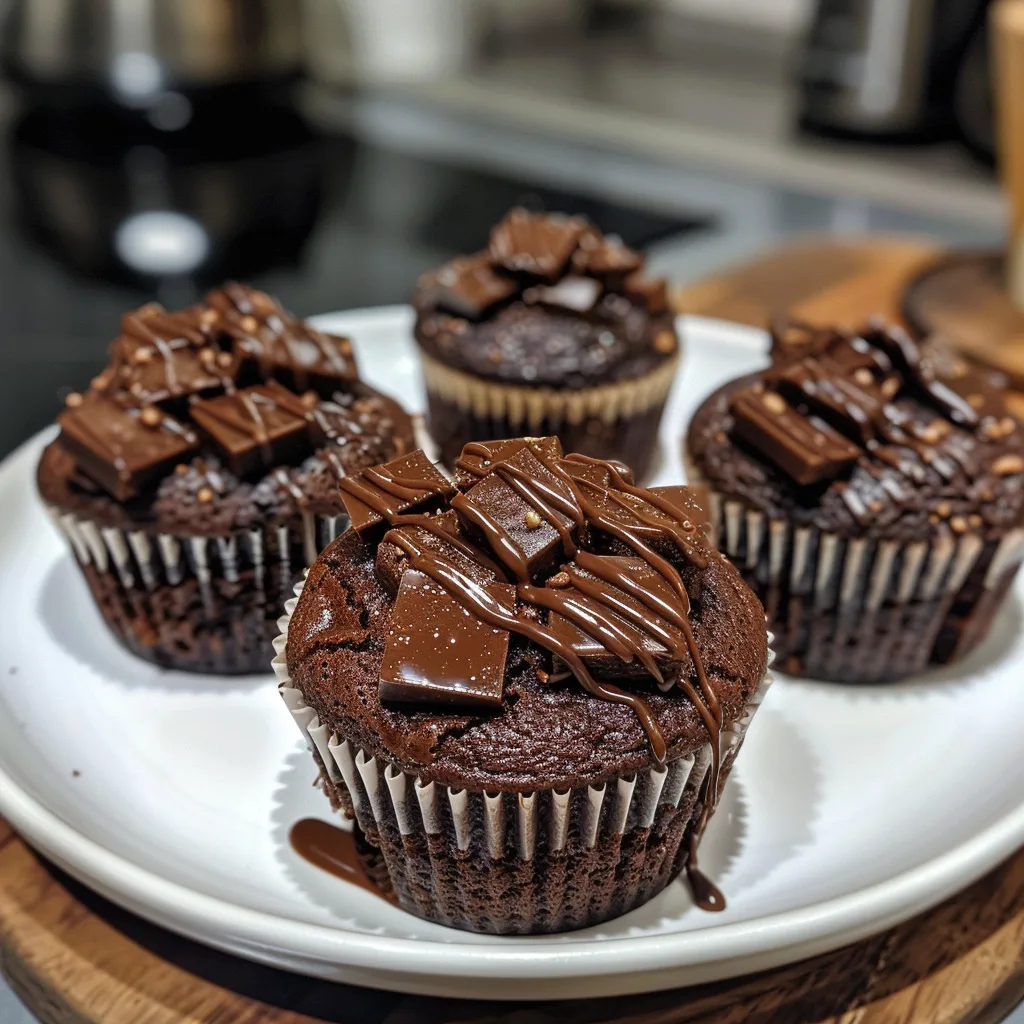
If you’ve ever found yourself torn between a rich, fudgy brownie and a soft, fluffy cupcake, this recipe for Heavenly Brownie Cupcakes will make your dessert dreams come true. These indulgent treats are the best of both worlds — the dense, chocolatey texture of a brownie meets the delightful presentation of a cupcake. Each bite offers that perfect crackly top and gooey center, all wrapped in an adorable cupcake liner. I tried these with a splash of almond milk instead of regular milk, and the result was perfectly moist and just a bit nutty — a small twist that made them even more irresistible. Whether you’re baking for a party, a cozy night in, or simply craving something sweet, these brownie cupcakes will satisfy your chocolate fix in the most decadent way possible.
Why You’ll Love This Recipe
These Heavenly Brownie Cupcakes are ideal for anyone who adores rich, chocolate desserts but wants something easy to serve and share. They bake beautifully in individual portions, making them perfect for gatherings or lunchbox treats. You’ll love how quickly they come together — no fancy equipment, no complicated steps, just pure, chocolate bliss in under an hour.
Print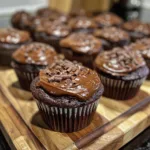
Heavenly Brownie Cupcakes: The Perfect Blend of Fudgy Goodness and Cupcake Charm
- Total Time: 35 mins
- Yield: 12 cupcakes
- Diet: Vegetarian
Description
Rich, fudgy brownie cupcakes with a crackly top and soft, gooey center — the perfect bite-sized indulgence for chocolate lovers.
Ingredients
- 1/2 cup (115g) unsalted butter
- 8 oz (225g) semi-sweet chocolate, chopped
- 3/4 cup (150g) granulated sugar
- 1/4 cup (50g) brown sugar
- 2 large eggs
- 1 tsp vanilla extract
- 1/2 cup (65g) all-purpose flour
- 2 tbsp unsweetened cocoa powder
- 1/4 tsp salt
- 1/2 cup (90g) chocolate chips (optional)
Instructions
- Preheat the oven to 350°F (175°C) and line a 12-cup muffin tin with paper liners.
- In a microwave-safe bowl, melt the butter and chopped chocolate together in 30-second intervals, stirring until smooth.
- Whisk in granulated sugar and brown sugar until combined.
- Add eggs and vanilla extract, whisking until glossy and smooth.
- Sift in flour, cocoa powder, and salt. Gently fold until just combined — do not overmix.
- Stir in chocolate chips if using.
- Divide the batter evenly among cupcake liners, filling each about 3/4 full.
- Bake for 18–22 minutes, or until the tops are set and slightly cracked but centers remain fudgy.
- Allow to cool in the pan for 10 minutes, then transfer to a wire rack to cool completely.
Notes
- For extra indulgence, drizzle with melted chocolate or top with a scoop of vanilla ice cream.
- Do not overbake — they should stay slightly gooey in the center.
- Store in an airtight container at room temperature for up to 3 days.
- Prep Time: 15 mins
- Cook Time: 20 mins
- Category: Dessert
- Method: Baking
- Cuisine: American
Ingredients
(Tip: You can find the complete list of ingredients and their measurements in the recipe card below.)
All-purpose flour
This provides structure and ensures your brownie cupcakes hold together while remaining tender and moist.
Unsweetened cocoa powder
The soul of every brownie! Use high-quality cocoa powder for that deep, rich chocolate flavor.
Granulated sugar
Adds sweetness and helps achieve that classic brownie crackly top.
Brown sugar
A little brown sugar adds moisture and depth of flavor, keeping the cupcakes chewy inside.
Unsalted butter
Melted butter gives that classic fudgy brownie texture and a buttery richness.
Eggs
They bind the ingredients together and create a tender crumb. Room-temperature eggs work best for smooth mixing.
Vanilla extract
A touch of vanilla enhances the chocolate and rounds out the sweetness.
Salt
A small but crucial addition that balances the overall flavor and intensifies the chocolate.
Chocolate chips or chunks
For extra gooeyness, fold in chocolate chips — they melt into heavenly pockets of chocolate throughout.
Milk (or almond milk)
A splash of milk keeps the batter smooth and adds moisture. Almond milk adds a subtle nutty note that complements chocolate perfectly.
Directions
- Preheat the oven to 350°F (175°C) and line a 12-cup muffin tin with paper liners.
- In a large bowl, whisk together melted butter, granulated sugar, and brown sugar until well combined.
- Add the eggs and vanilla extract, whisking until the mixture becomes glossy.
- Sift in flour, cocoa powder, and salt. Stir gently until just combined — don’t overmix, or you’ll lose that fudgy texture.
- Fold in the chocolate chips or chunks, distributing them evenly through the batter.
- Spoon the batter evenly into the cupcake liners, filling each about two-thirds full.
- Bake for 18–22 minutes, or until the tops are set but still soft in the center.
- Allow the cupcakes to cool in the pan for 5 minutes, then transfer to a wire rack to cool completely.
These brownies are best slightly warm, with a scoop of vanilla ice cream or a dusting of powdered sugar.
Equipment needed :
Must-Have Tools to Get Rolling
Here’s what you’ll want to have on hand:
Silicone Spatula – Durable, heat-resistant silicone spatula perfect for mixing, scraping, and spreading. Gentle on non-stick cookware and easy to clean.
Large pot – You’ll need this to boil the whole cabbage head and soften the leaves.
large bowl –Spacious, durable large bowl ideal for mixing, serving, or food preparation. Made from sturdy material and easy to clean.
Sharp knife – For coring the cabbage and slicing out the thick stem in each leaf. A paring knife works best.
Mixing bowl – A big bowl makes it easier to combine your meat and rice filling evenly.
Cutting board – For prepping cabbage leaves and rolling them like a pro.
9×13-inch baking dish – Ideal size to fit your rolled cabbage leaves snugly and prevent them from unraveling.
knife – A sharp, durable kitchen knife perfect for slicing, chopping, and dicing with ease
Servings and timing
Servings: 12 brownie cupcakes
Prep time: 15 minutes
Cook time: 20 minutes
Cooling time: 10 minutes
Total time: Approximately 45 minutes
Storage/reheating
Store your brownie cupcakes in an airtight container at room temperature for up to 3 days or in the refrigerator for 5 days. To reheat, microwave for 10–15 seconds to bring back that gooey texture. You can also freeze them for up to 2 months; just thaw overnight before serving.
Variations and Customizations
Nutty Delight – Add chopped walnuts or pecans to the batter for extra crunch.
Espresso Infusion – Stir in a teaspoon of instant espresso powder to deepen the chocolate flavor.
Mint Chocolate Dream – Add peppermint extract and top with crushed mint candies for a festive twist.
Peanut Butter Swirl – Drop spoonfuls of peanut butter into the batter before baking and swirl lightly.
Caramel Bliss – Drizzle caramel sauce over the batter before baking for gooey caramel pockets.
Dark Chocolate Indulgence – Use dark chocolate chips for a more intense, less sweet flavor.
Fruity Touch – Fold in raspberries or cherries for a tart balance to the sweetness.
Coconut Heaven – Add shredded coconut for a tropical twist that pairs perfectly with chocolate.
Marshmallow Magic – Mix in mini marshmallows or top with one before baking for a s’mores vibe.
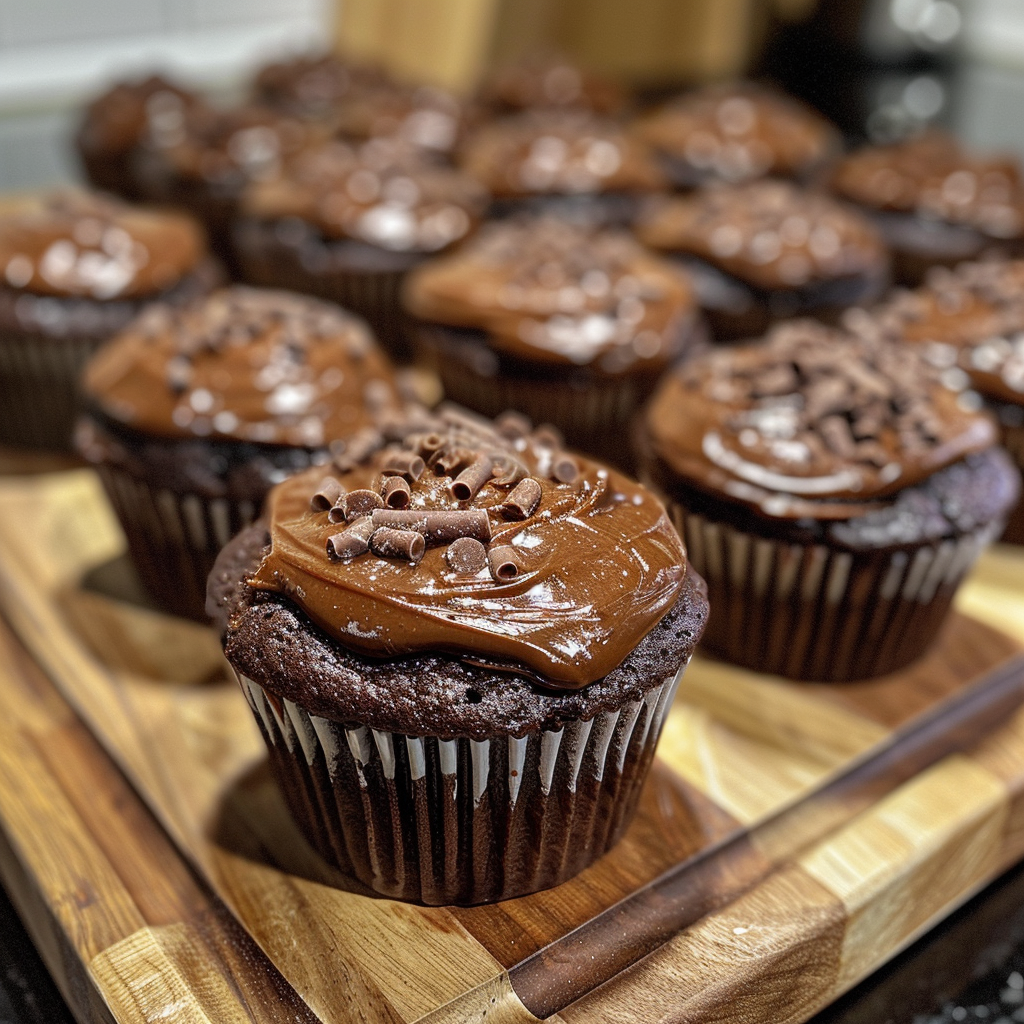
Frosted Elegance – Once cooled, top with chocolate ganache or cream cheese frosting for extra indulgence.
FAQs
Can I use oil instead of butter?
Yes, though butter provides a richer flavor, vegetable oil can be used for a slightly moister texture.
How do I know when they’re done baking?
They should have set tops and slightly gooey centers — a toothpick should come out with a few moist crumbs.
Can I make these gluten-free?
Yes, substitute a 1:1 gluten-free flour blend.
Can I add frosting?
Absolutely! A chocolate or vanilla buttercream pairs beautifully.
How can I make them dairy-free?
Use almond milk and dairy-free chocolate chips.
Can I double the recipe?
Yes, simply double all ingredients and bake in two muffin tins.
Can I make them in mini cupcake form?
Yes, reduce baking time to about 12–14 minutes.
What kind of cocoa powder works best?
Use unsweetened natural or Dutch-processed cocoa for rich flavor.
How do I store leftover cupcakes?
Keep them in an airtight container to maintain moisture.
Can I add mix-ins like Oreos or candy?
Definitely — chopped cookies, toffee bits, or M&M’s all make fun additions.
Conclusion
These Heavenly Brownie Cupcakes are proof that you don’t need to choose between brownies and cupcakes — you can have both! With their fudgy centers, crisp tops, and easy preparation, they’re a delightful treat for any occasion. Whether served plain, frosted, or dressed up with your favorite add-ins, these cupcakes deliver a bite of pure chocolate bliss every time. Once you bake them, they’re bound to become a regular feature in your dessert rotation.
Hungry for more? Visit our website for full recipes and follow us on Pinterest for daily foodie inspo you’ll love to pin!